Are you facing issues with your website after updating a plugin? Don’t worry! In this troubleshooting guide, we’ll walk you through step-by-step solutions to rectify common problems that arise after plugin updates. Whether your site is displaying errors, crashing, or experiencing broken functionality, we’ve got you covered.
1) Identify the Problem:
The first step in troubleshooting is to identify the specific issue you’re facing. Is your site completely down, showing error messages, or simply not functioning as expected? Understanding the nature of the problem will help you determine the appropriate solution.
2) Rollback the Plugin Update:
If the issue started immediately after updating a particular plugin, rolling back to the previous version may resolve the problem. Follow these detailed steps to rollback the plugin update:
(i) Access your site’s files via FTP or your hosting control panel to ensure direct access to your website’s directories or if you have installed wp file manager plugin.
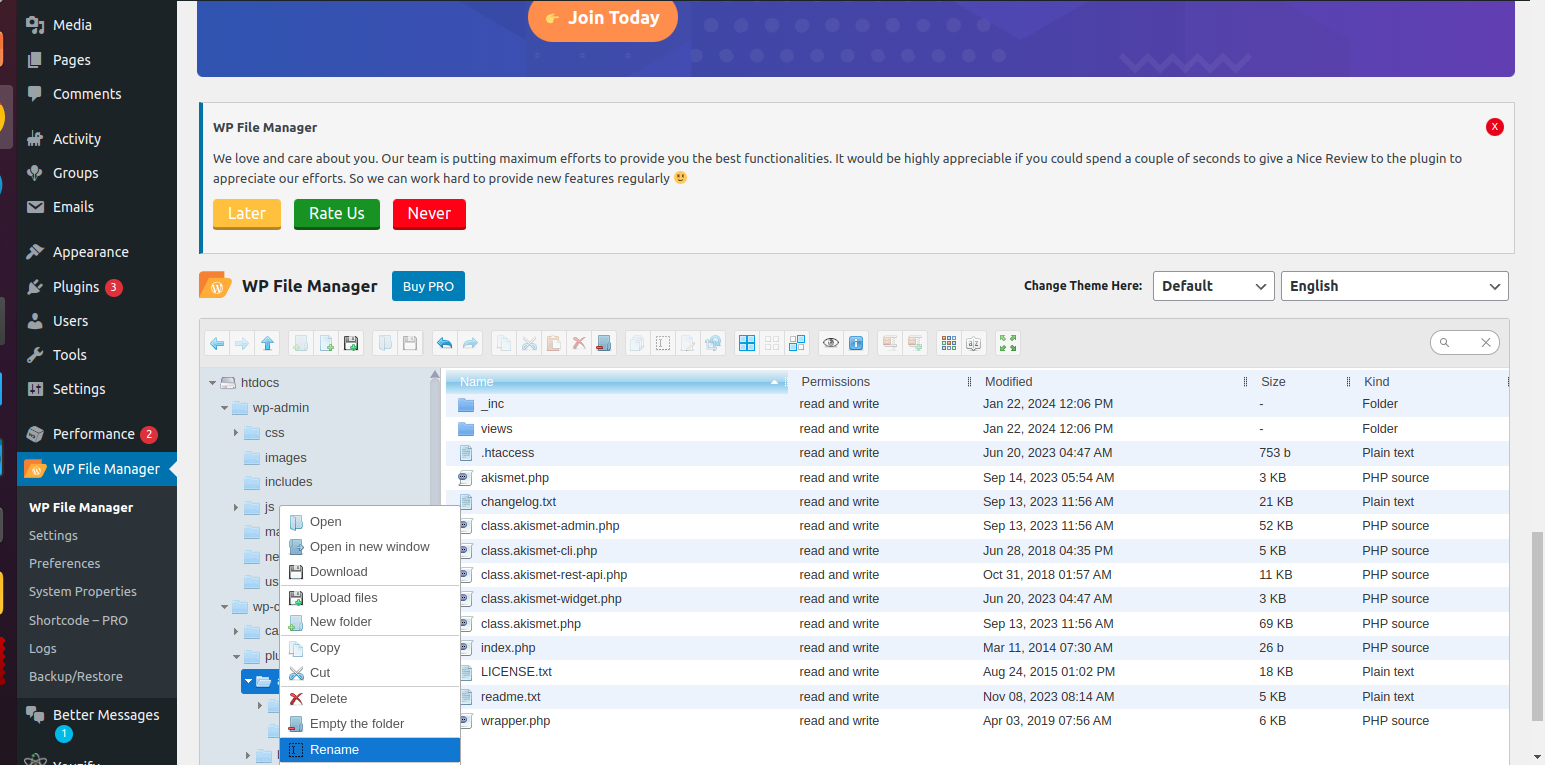
(ii) Navigate to the “wp-content/plugins” directory, where all your WordPress plugins are stored.
(iii) Prior to making any alterations, it’s crucial to safeguard the current plugin version. This can be achieved by renaming the folder to indicate it’s a backup.
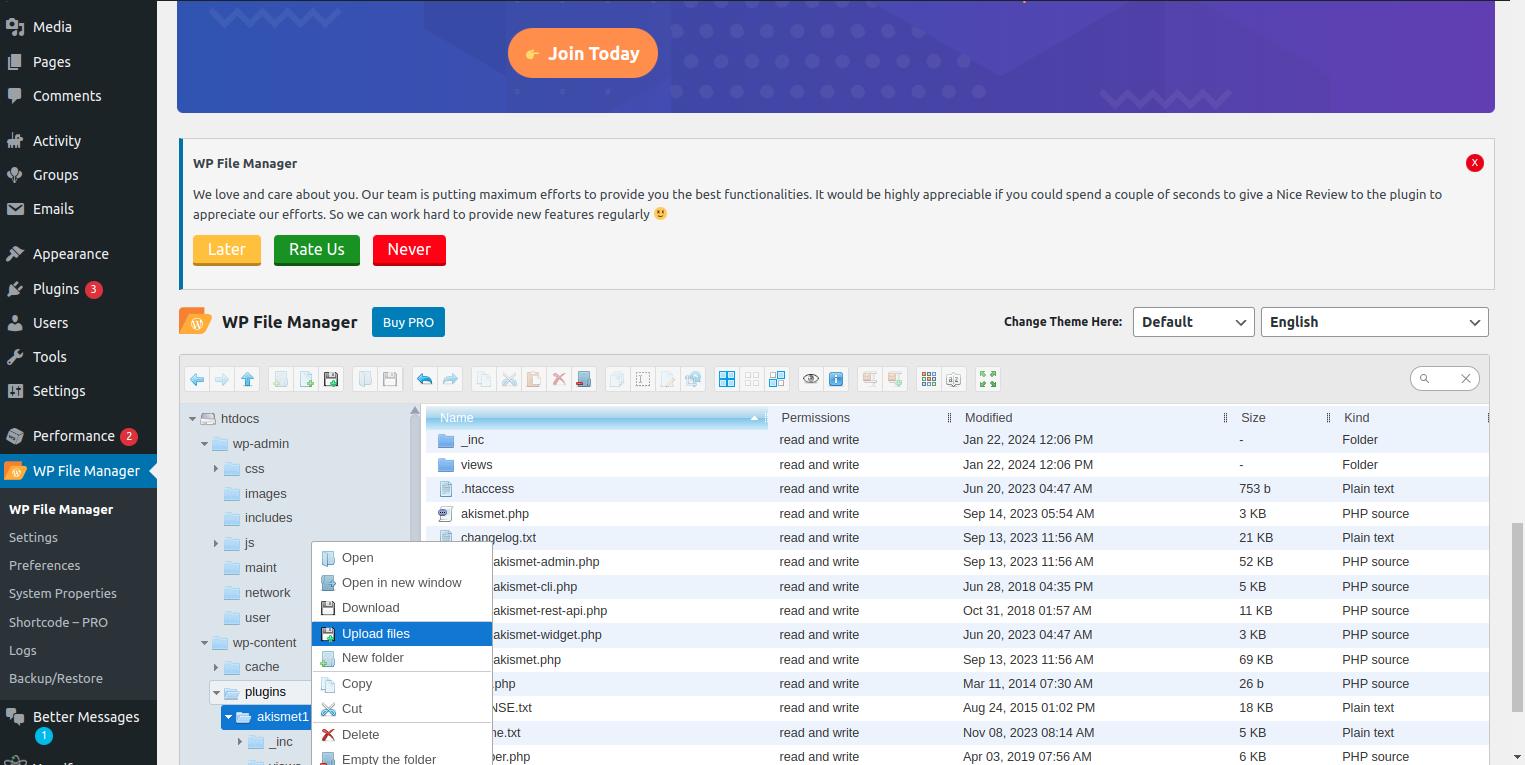
(iv) If you’ve backed up the previous plugin version, replace the updated files with the older ones. Alternatively, if you don’t have a backup, retrieve the previous version from either the WordPress Plugin Directory or the plugin developer’s website.
(v) Once you have the previous version files, upload them to the “wp-content/plugins” directory on your server, effectively replacing the updated files.
(vi) Confirm the changes in your WordPress dashboard by navigating to the Plugins section. Ensure the plugin is reverted to the previous version.
(vii) It’s imperative to thoroughly test your site to verify that functionality has been restored. This can include checking different pages, forms, or any features associated with the plugin to ensure they’re functioning as expected.
3) Check for Compatibility:
Ensure that the updated plugin is compatible with your WordPress version and other plugins/themes installed on your site. Incompatibility issues can lead to conflicts and errors, causing your site to malfunction. If necessary, consider updating other plugins/themes or seeking alternatives that are compatible with each other.
4) Disable the Problematic Plugin:
If rolling back the plugin update doesn’t resolve the issue, try temporarily disabling the problematic plugin. Follow these steps:
(i) Access your site’s files via FTP or a file manager.
(ii) Rename the plugin’s folder in the wp-content/plugins directory to deactivate it temporarily.
(iii) Check if the issue persists after disabling the plugin.
Conclusion:
Facing website problems after updating plugins can be frustrating, but with the right approach, you can quickly identify and resolve the issue. By following the troubleshooting steps outlined in this guide, you’ll be able to get your site back up and running smoothly in no time. Remember to regularly backup your website to prevent data loss and always test updates in a staging environment before applying them to your live site. Happy troubleshooting!